
Do It Yourself or Not: Make a fabric window cornice
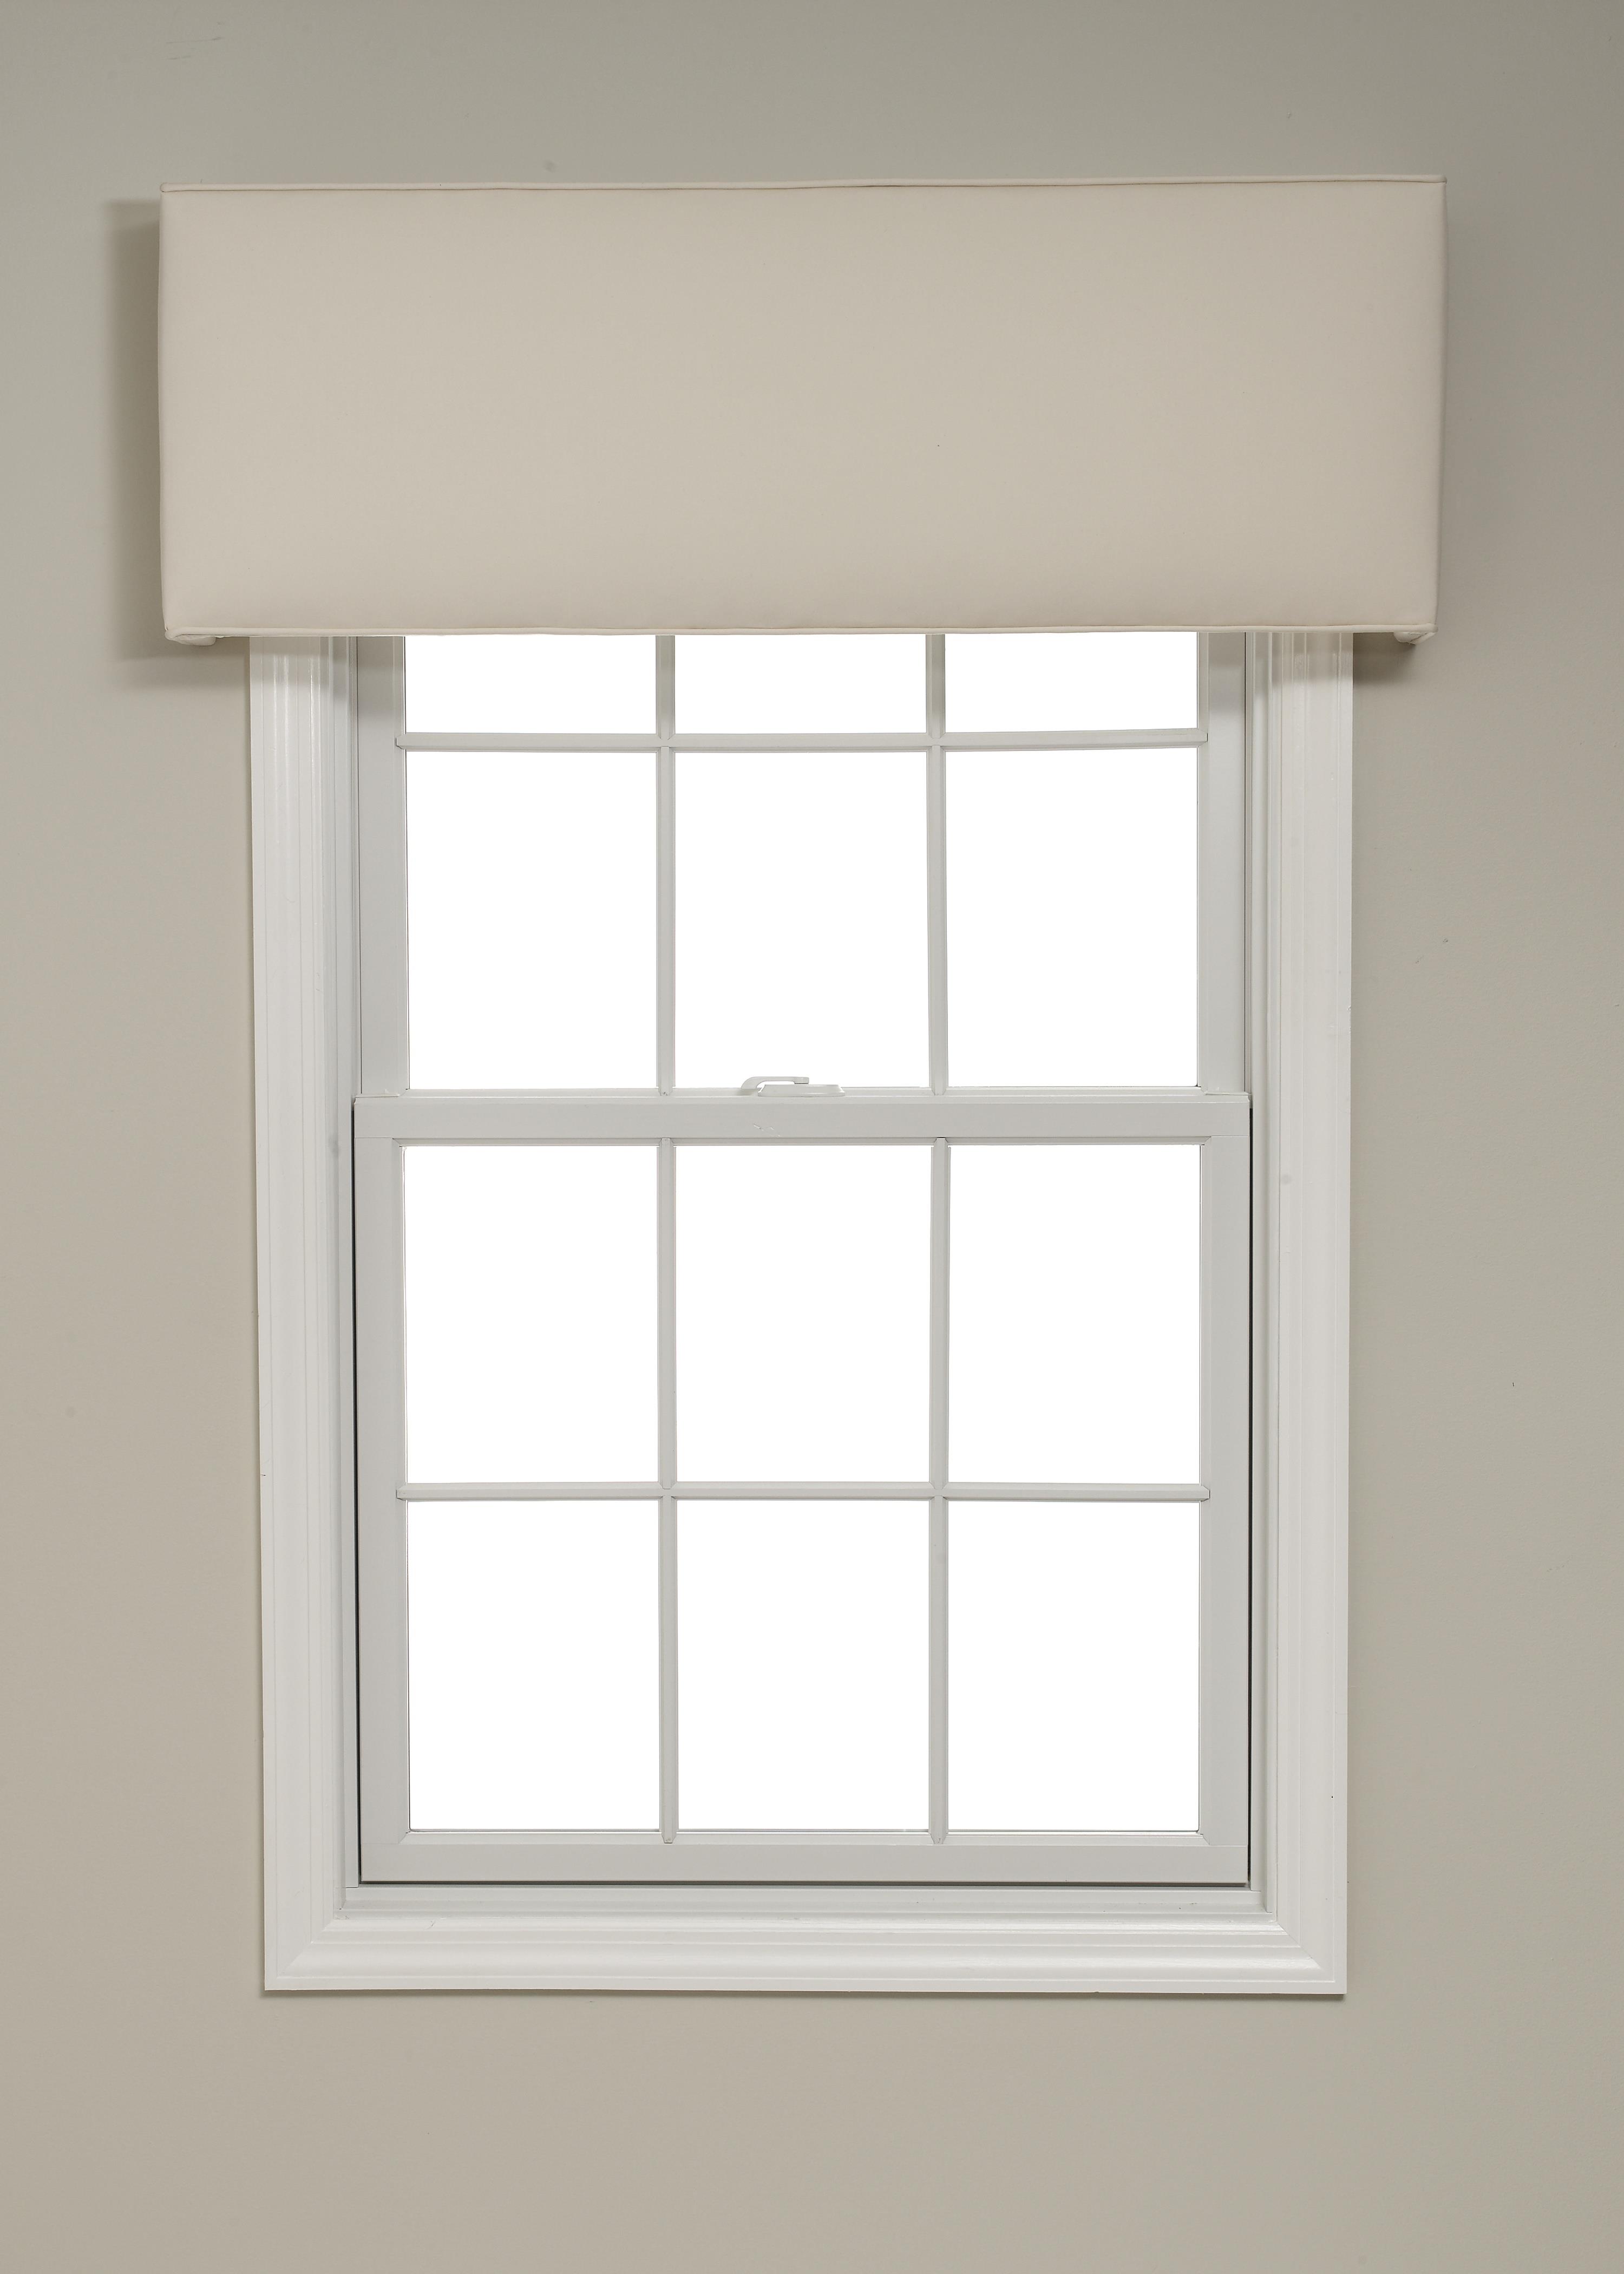
A cornice or window topper is a good choice to complete a room’s décor, whether the window is a casual setting with blinds or a shade, or a more traditional style with draperies. Whatever the style, a fabric cornice adds a custom touch to any window. You can make one with a cornice board kit, which you assemble with polystyrene sections, two end caps, brackets and hardware. You provide padding and fabric of your choice to upholster the cornice.
A handyman will make and install 24-inch-high, 72-inch-wide window cornice for $348. If you have more than one window, or a wider window, the cost will be more. You can purchase a cornice board kit for $100, do it yourself and save 71%.
Even if you don’t have a sewing machine and don't consider yourself crafty, you can do this. You will need a measuring tape, a glue gun and scissors. A utility knife and straightedge will help you make a straight cut on the ends of the panel. Then glue the two ends to the panel, position the fabric and padding, and glue in place. Fasten the brackets to the wall and install the cornice on it.
Pro Cost: $348 — DIY Cost: $100 — Pro time: 3.6
DIY Time: 4.0 — DIY Savings: $248 — Percent Saved: 71%
========
For more information and instructions go to www.diycornicekits.com.
To find more DIY project costs and to post comments and questions, visit www.diyornot.com and m.diyornot.com on smartphones.
©2025 Gene and Katie Hamilton. Distributed by Tribune Content Agency, LLC.


Comments